Getting started with prototyping involves a series of steps to help you visualize and test your ideas before investing significant time and resources into development.
Here’s a step-by-step guide to help you get started with prototyping:
1. Define Your Objectives:
– Clearly define the purpose of your prototype.
– Identify the key features and functionalities you want to test or showcase.
2. Understand Your Users:
– Identify your target audience and understand their needs and preferences.
– Consider how users will interact with your product.
3. Gather Requirements:
– Document the essential features and requirements your prototype should include.
4. Choose a Prototyping Tool:
– Select a prototyping tool based on your needs and preferences. Common tools include Sketch, Adobe XD, Figma, InVision, Axure RP, and more.
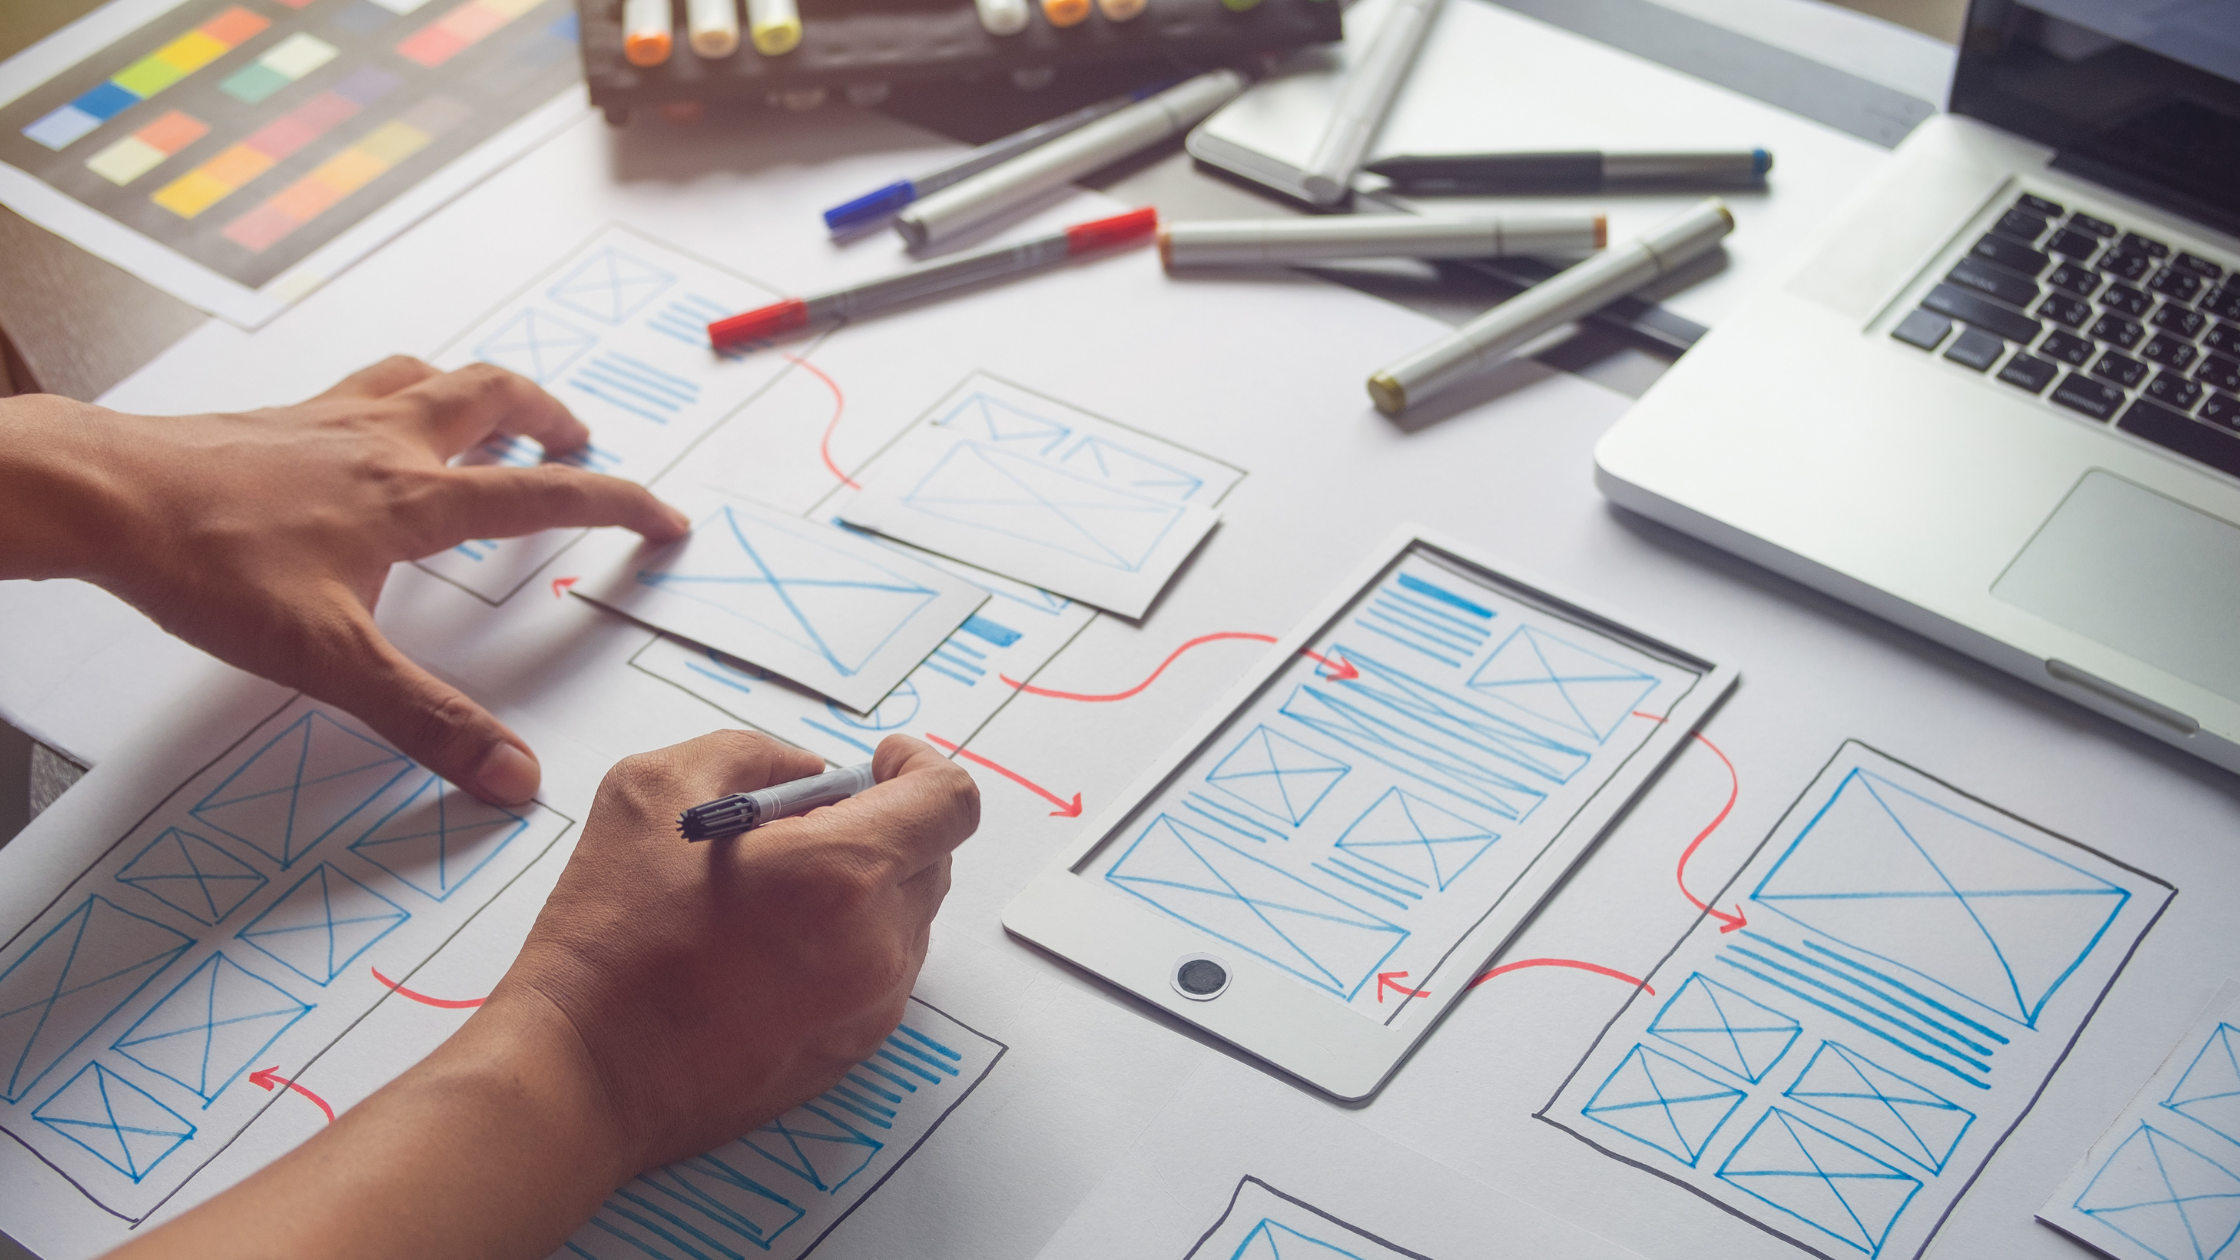
5. Sketch Your Ideas:
– Start with rough sketches to visualize the layout and flow of your product.
– Focus on key screens and user interactions.
6. Create Wireframes:
– Develop more detailed wireframes that represent the structure and layout of your interface.
– Define the basic navigation and user flow.
7. Build Low-Fidelity Prototypes:
– Use your chosen prototyping tool to create low-fidelity prototypes.
– Keep the design simple and focus on functionality.
8. Test and Iterate:
– Conduct usability testing with potential users to gather feedback.
– Identify areas for improvement and make necessary adjustments.
9. Enhance with High-Fidelity Prototypes:
– Once you have validated your design with low-fidelity prototypes, move on to creating high-fidelity prototypes.
– Add more details, colors, and realistic elements to make it visually appealing.
10. Test Again:
– Conduct additional rounds of testing with the high-fidelity prototype.
– Gather feedback on the overall design, user interface, and user experience.
11. Document and Share:
– Document your design decisions, user feedback, and any changes made during the prototyping process.
– Share the prototype with stakeholders for further input.
12. Prepare for Development:
– Once your prototype is well-received and validated, you can use it as a reference for development.
– Provide developers with the necessary documentation and assets.
Remember, prototyping is an iterative process, and you may need to go through multiple cycles of testing and refinement.
Stay open to feedback, be willing to make changes, and use the prototyping phase to uncover potential issues before moving into full-scale development.
Read more on Crenov8:
The role of storytelling in design thinking
 CRENOV8


